
Introduction
Although the Apple Watch Ultra boasts robust performance, prolonged use may still lead to issues such as rapid battery drain, sudden shutdowns, screen flickering, unresponsive touch controls, or a cracked outer screen. These problems are primarily attributed to battery degradation, liquid ingress, or damage to the display and touch layers. In most cases, the device’s mainboard remains repairable, eliminating the need for a complete unit replacement. By adhering to standardized disassembly and repair protocols—facilitated by specialized tools—it is possible to effectively prevent secondary damage, restore full device functionality, and enhance both overall stability and operational lifespan.
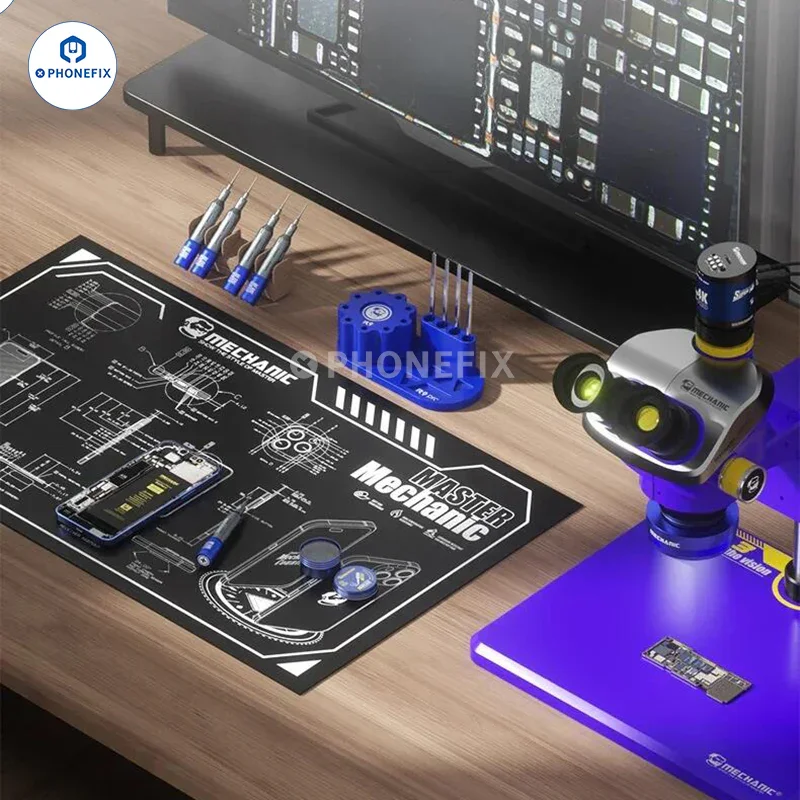
preparation and necessary equipment for safe treatment.
Proper training is essential to keep you away from destructive internal components before you start restoring. A Professional screwdriver kit set is important because the Apple Watch Ultra uses extremely small three-point pentacle screws that require precise matching drivers Alongside this, the tactile OLED layers use an ultra-nice heating pad to gently loosen the display adhesive without overheating.
You may also want anti-static tweezers (preferably ESD-safe curved tips), plastic pry tools, isopropyl alcohol (ninety%), a temperature-controlled hot air station set at 80 ° C to one hundred ° C for initial softening, and precision adhesive for reassembly which can be used to create current binding as well certain smooth electrical contactors. Preparing your workspace with the right lighting and antistatic protection is as important as the gear itself.
Disassembly process and heating technique for safe opening
The first step in Apple Watch Ultra repair smartphone disassembly waterproof seal is to separate the display well from the frame. Place the watch on the Ultra-best heating pad set at 80°C to ninety°C for 3–five minutes. This softens the waterproof adhesive without unfortunate internal components. Avoid heating above one hundred°C as this can damage the OLED layers or battery insulation.
Once heated, use a suction cup to place a thin plastic dowel along the rims. Avoid steel gears at this stage to avoid scratching or tearing the flex cable. Use curved ESD tweezers to gently carry the connectors when the monitor is barely open. Small amounts of isopropyl alcohol can help dissolve cussed glue areas. Take your time during this technique, as the monitor flex cable is exceptionally fragile and can easily tear if pulled incorrectly.
Battery Replacement and Internal Component Handling
After starting the machine, the battery is usually the primary fundamental aspect to be replaced in the event of swelling or rapid discharge. Disconnect battery connector to avoid short circuit Use antistatic tweezers and a plastic pudger. Carefully wear the use of battery controlled stress; Under no circumstances should you bend it sharply, as lithium cells are susceptible to distortion.
If the glue is simply too strong, follow some controlled heat from a hot air source between 60°C and 70°C to loosen it. Once removed, clean the area with isopropyl alcohol before installing a new battery. Ensure proper alignment with the optional battery housing to keep internal components out of stress. Using the Professional screw pack during reassembly is guaranteed to tighten without stripping all the screws successfully, maintaining the integrity of the device
screen replacement and precision adhesive applications
The display switch requires more care as it includes an OLED panel, a touch digitizer, and a protective glass layer. Inspect all flex cables for damage or fraying, except for damaged panels. If any adhesive residue remains, clean gently with isopropyl alcohol and solvent to ensure a safe smooth mounting surface .
Apply precision adhesive evenly to the edges of the body, ensuring a thin and regular coat to maintain proper alignment and waterproof integrity. Avoid excess glue as it will seep into internal channels. Carefully insert the new monitor and press lightly to ensure an even bond. Use fine tweezers during this step to ensure the ties are securely attached. Without delay, this step affects the brightness, touch sensitivity, and longevity of the display.
testing, calibration and final reassembly phases
After replacing the battery and monitor, reconnect all internal flex cables and plug in power before completely sealing the machine. Check brightness, contact response, speaker output, and battery charge balance. Run the machine for a few minutes to verify that there is no overheating or connection problem.
Reapply the water-resistant adhesive to the southern seal and press playfully on the display for a few minutes. This ensures moisture resistance and structural stability. Final measurements include checking the coronary artery rate sensors, tactile accuracy, and digital crown response. With careful reassembly and proper use of precision glue, the watch regains almost exceptional performance and robustness.
Conclusion
The precision repair of the Apple Watch Ultra relies on a systematic process and high-precision tools—including constant-temperature heating pads, precision screwdrivers, and waterproof sealants—to ensure that the disassembly and repair procedures are safe and reliable. Through strict temperature control, non-destructive disassembly, and standardized resealing, potential damage to sensitive internal circuitry is prevented, and the device’s functionality is restored. Adherence to these standardized procedures not only resolves issues related to the battery and screen but also extends the device’s lifespan, thereby enhancing both the success rate of the repair and the long-term stability of the device.