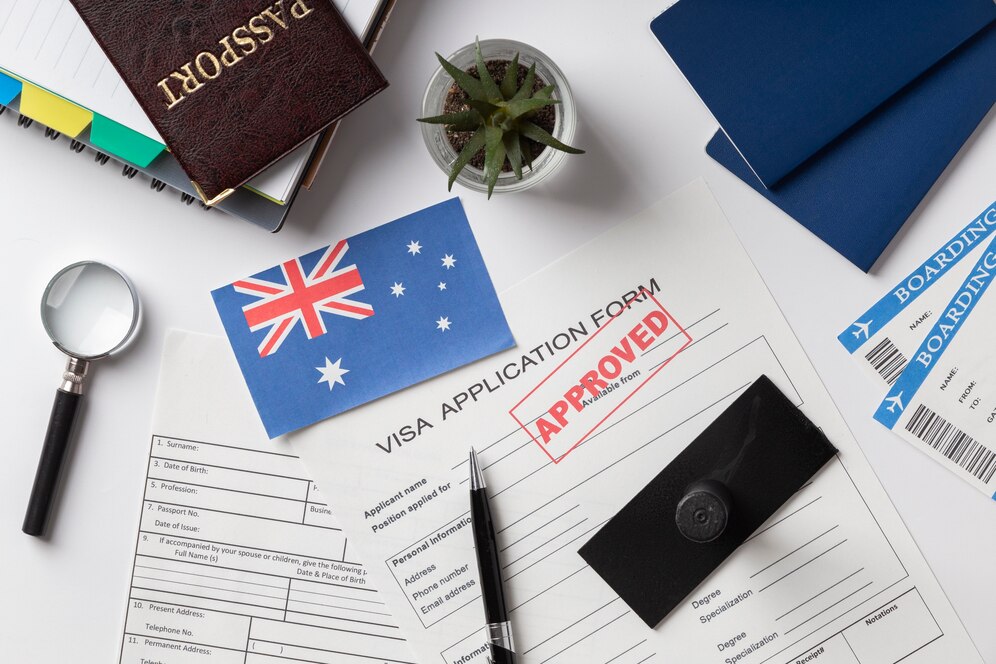
Many tourists put New Zealand on their bucket lists because of its stunning landscapes, welcoming citizens, and rich culture. The first step is to apply for a visit visa.
Below is a step-by-step guide to help you apply for New Zealand visit visa from India without any complexities:
1. Determine the Right Visa Type
Before you start your application, it’s important to identify the type of visa that suits your travel plans. For most travelers, the Visitor Visa is appropriate if you plan to stay in New Zealand for up to nine months for tourism, visiting family, or attending events. Visit the official New Zealand Immigration website to explore different visa categories.
2. Gather Required Documents
Here’s a checklist of commonly required items:
Completed Visa Application Form: Fill out the Visitor Visa application form accurately.
Valid Passport: Ensure your passport is valid for at least three months beyond your intended departure date from New Zealand and has at least one blank page.
Photographs: Provide recent passport-sized photographs that meet the specified requirements.
Travel Itinerary: Include details of your planned travel, such as flight bookings, accommodation details, and activities you intend to do while in New Zealand.
Proof of Financial Means: Demonstrate that you have sufficient funds to support yourself during your stay, such as pay slips, or sponsorship letters if someone is funding your trip.
Travel Insurance: While not mandatory, having travel insurance is highly recommended to cover unexpected medical expenses or trip cancellations.
3. Make an Appointment (If Necessary)
Sometimes, you may need to attend an appointment at a New Zealand visa application center (VAC) or embassy. Check the requirements based on your country of residence. If an appointment is necessary, schedule it well in advance to avoid any last-minute hassles.
4. Submit Your Application
Once you have all the required documents ready, submit your application online or in person, depending on the submission method you’ve chosen. Make sure to pay the visa application fee, which varies by visa type and processing speed.
5. Processing Time
After submission, your application will go through a processing period. The typical processing time for a Visitor Visa can range from a few days to several weeks, depending on various factors. It’s wise to apply well in advance of your planned travel date to account for any delays.
6. Be Prepared for Additional Questions
Occasionally, immigration officers will ask for more information or paperwork. Have your travel arrangements, finances, and connections to your home country ready to answer questions about.
7. Check Visa Conditions
Once your visa is issued, read through the terms and conditions of your visa. This includes the duration of your stay, any restrictions on work, and terms for an extension of your stay if needed.
8. Plan Your Itinerary
With your visa secured, it’s time to plan your itinerary! New Zealand is famous for its stunning landscapes—from the breathtaking fjords of Milford Sound to the geothermal wonders of Rotorua. Explore both the North and South Islands. Don’t forget to schedule some downtime to relax and soak in the scenery.
9. Stay Connected
Before you travel, consider options for staying connected in New Zealand. Buying a local SIM card upon arrival can be a cost-effective way to stay in touch and navigate your travels using maps and local apps.
Applying for a New Zealand visit visa may seem daunting, but with careful planning and preparation, it can be a straightforward process. Gather the necessary documents, understand the requirements, and seek professional assistance of the best consultant to help you with the process.


